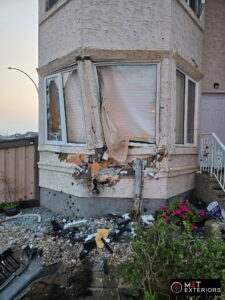
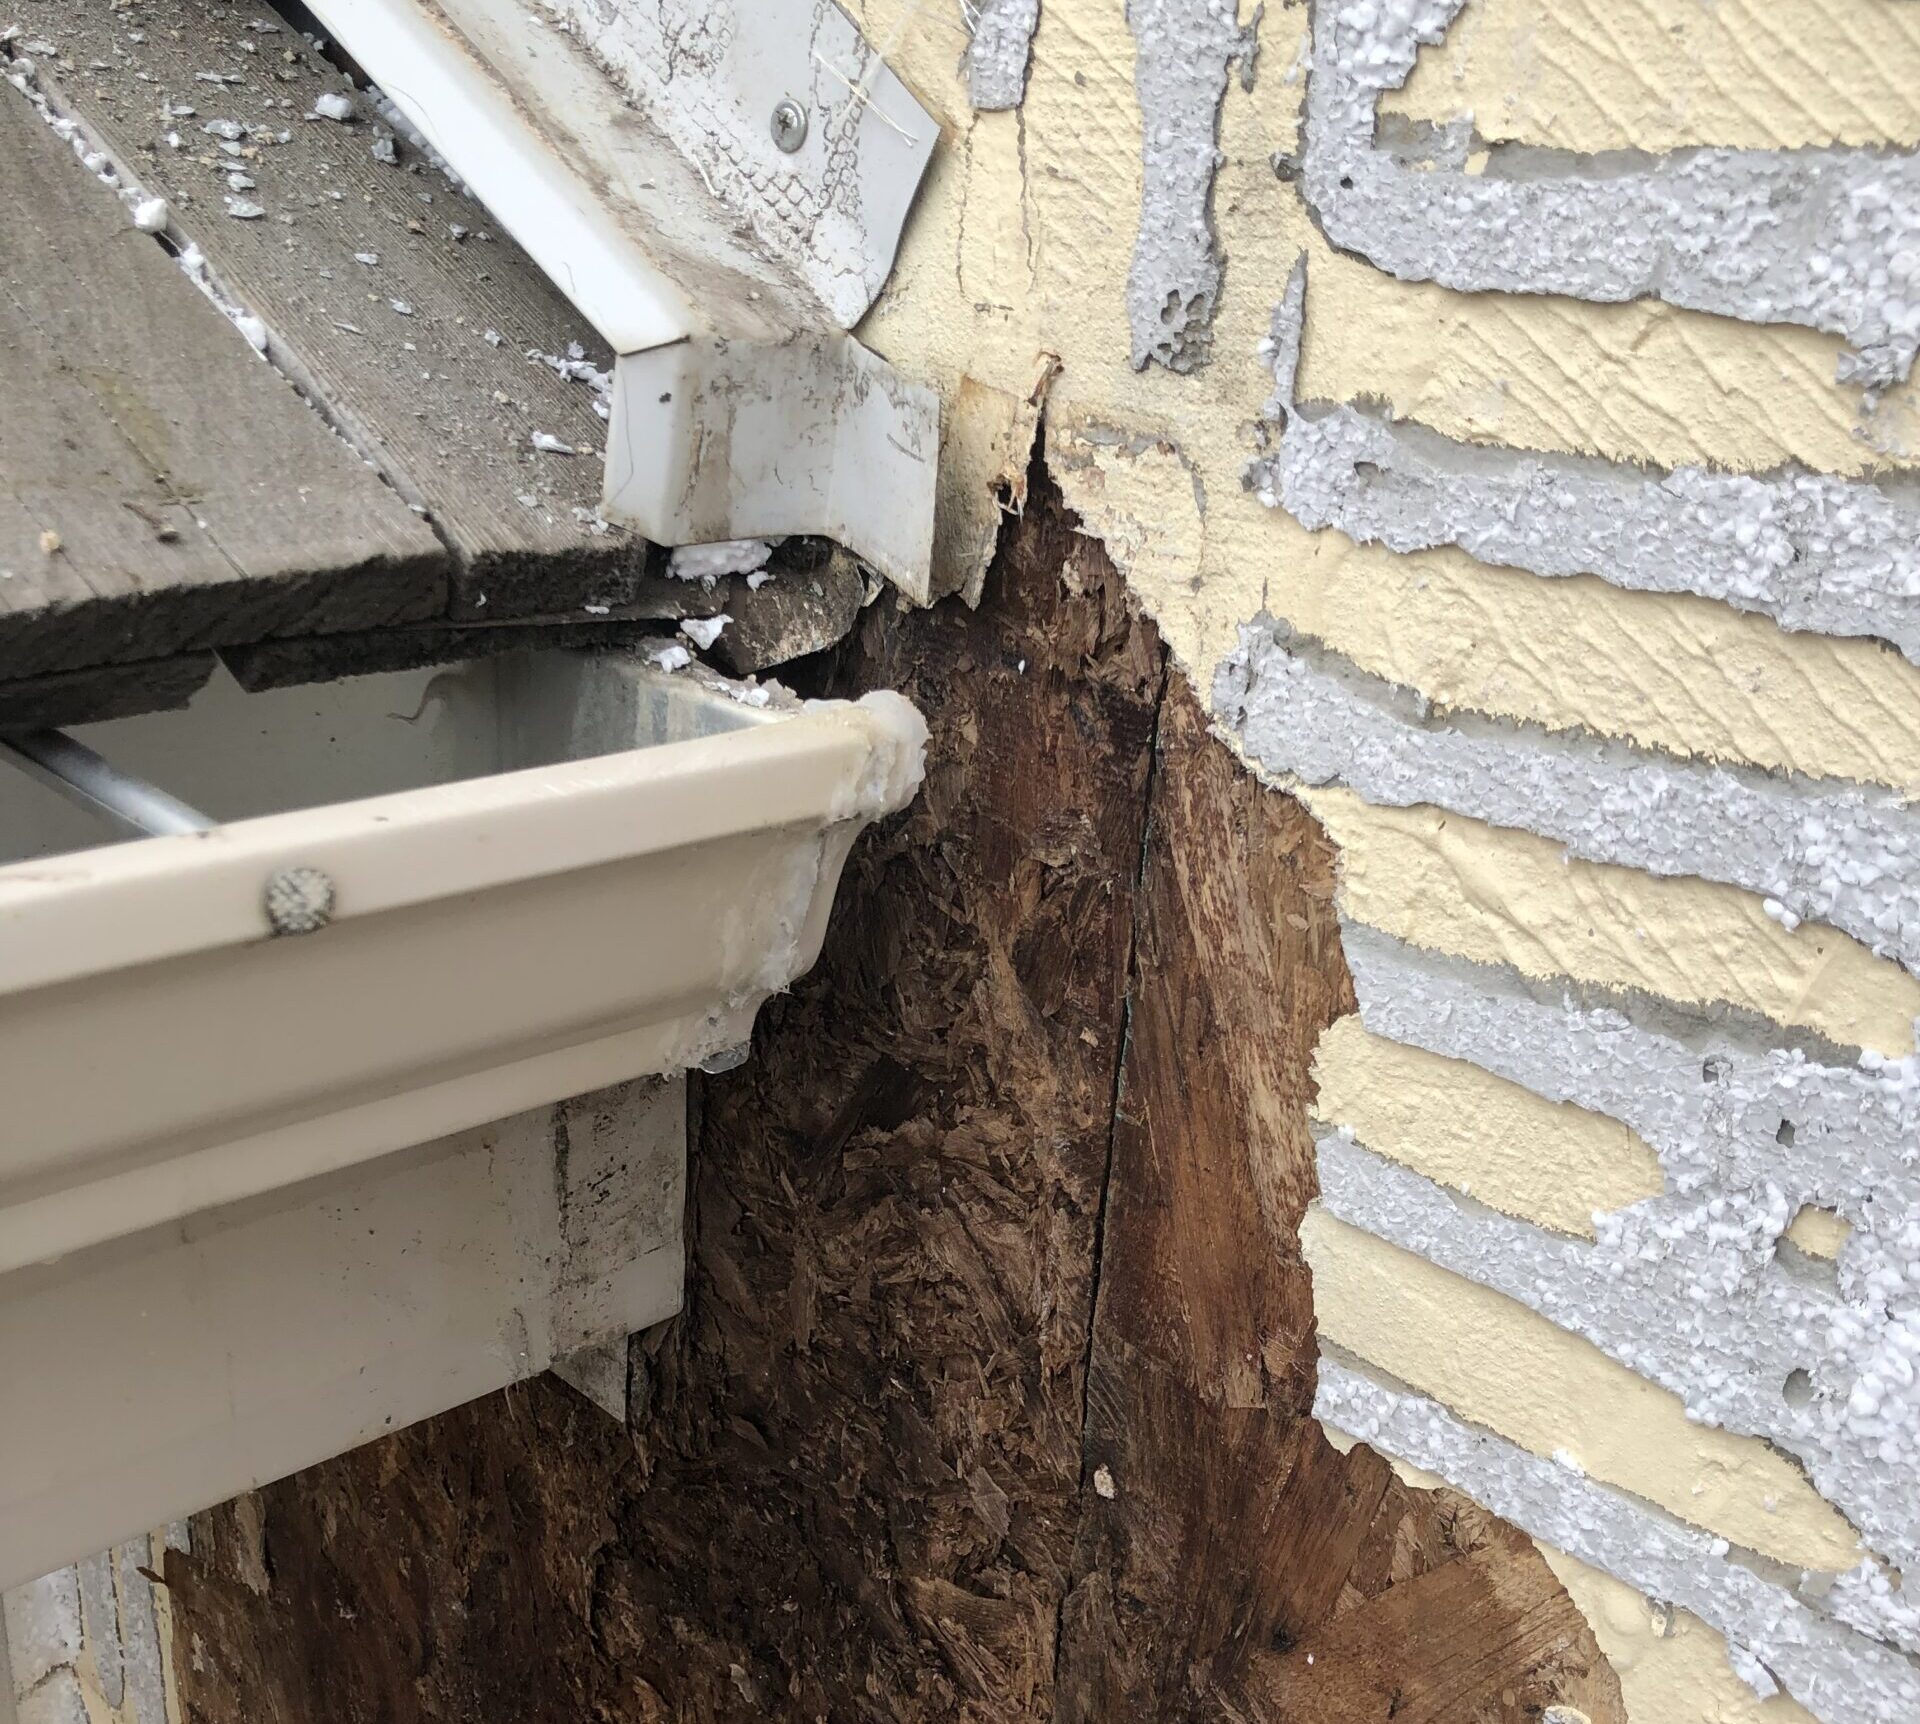
Missing, undersized or poorly integrated kick-out flashing can direct concentrated roof runoff into an exterior wall. The resulting leak may wet the cladding, water-resistive barrier, sheathing, insulation and wood framing before obvious interior symptoms appear.
A durable repair involves more than adding a small piece of metal or applying caulking. The kick-out diverter must connect correctly with the roof’s step flashing, underlayment, wall drainage plane, cladding clearances and gutter so water is directed down and out of the assembly.
What Is Kick-Out Flashing?
Kick-out flashing—also called a kick-out diverter—is installed at the lower end of a sloped roof where the roof terminates against a vertical wall. Its purpose is to turn water away from the wall and into the gutter or safely beyond the cladding.
Step flashing manages water along the full roof-to-wall intersection. The kick-out is the final diverter at the bottom. If either component is missing, too small, damaged or incorrectly layered, runoff can travel behind the cladding instead of into the drainage system.
How the Complete Drainage Detail Should Work
- Roofing and underlayment shed water down the roof slope.
- Overlapped step flashing carries water along the roof-to-wall intersection.
- The wall’s water-resistive barrier laps with the flashing in shingle fashion.
- The kick-out diverter turns concentrated runoff away from the wall.
- The gutter receives and carries the water to a functioning downspout.
- Cladding clearance allows drainage and prevents materials from trapping moisture at the roof.
These components must be coordinated. A roofer may install the roof flashing while another trade installs the WRB and cladding, but the final assembly has to form one continuous drainage path.
How Missing Kick-Out Flashing Causes Water Damage
| Failure point | What can happen | What should be reviewed |
|---|---|---|
| No kick-out diverter | Roof runoff repeatedly washes against or behind the wall | Roof-to-wall termination and gutter entry |
| Undersized diverter | Water overshoots the gutter or spills around the flashing | Diverter size, angle and expected water flow |
| Open seam or pinhole | Water passes through a site-built flashing | Material condition and seam construction |
| WRB behind the flashing | Water is directed into the wall drainage plane incorrectly | Layering of membrane, flashing and cladding |
| Cladding tight to roofing | Drainage is restricted and moisture can be trapped | Required roof-to-cladding clearance |
| Blocked or poorly positioned gutter | Runoff overflows onto the wall | Gutter slope, end cap, debris and downspout capacity |
Warning Signs Near a Roof-to-Wall Intersection
- Staining, algae or repeated dirt streaks below the roof end.
- Cracked, soft, loose or bulging stucco or EIFS.
- Swollen trim, peeling coatings or deteriorated sealant.
- Rust marks or visible gaps around site-built flashing.
- Wet insulation, darkened sheathing or wood deterioration after selective removal.
- Interior staining or damaged finishes near the affected wall.
- Musty odours in an adjacent room or wall cavity.
A wall can also conceal damage without obvious exterior symptoms. Fibre-cement siding, vinyl siding, brick veneer, stucco and EIFS may hide the condition of the sheathing behind them. Visual observations should therefore be separated from conclusions that require moisture screening or selective removal.
Kick-Out Flashing Problems on Stucco and EIFS
Stucco and EIFS need careful detailing at roof intersections. The diverter must project far enough to move water beyond the wall surface while integrating with the WRB or air/moisture barrier behind the cladding.
Simply cutting a slot into the finished wall and sliding in a small piece of metal may leave the flashing disconnected from the underlying drainage plane. Caulking can help seal an appropriate joint, but it should not be used as the primary drainage design or as a substitute for proper overlapping.
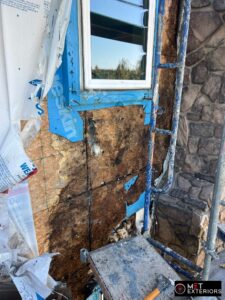
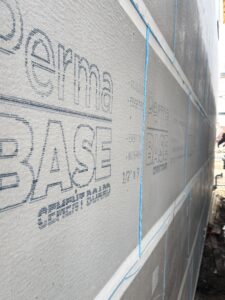
When existing cladding has to be opened, the repair may include removal of affected finish, insulation or stucco layers; assessment of concealed materials; installation of membranes and flashing; replacement of damaged sheathing where authorized; and restoration of the exterior finish.
Why Edmonton Homes Are Vulnerable
Edmonton properties experience wind-driven rain, snow accumulation, melting conditions and repeated freeze-thaw cycles. Ice or debris can obstruct drainage, while snow at lower roof areas can keep vulnerable transitions wet for extended periods.
The condition of the gutter and downspout is part of the assessment. A properly formed kick-out cannot perform as intended if the gutter is blocked, incorrectly positioned or discharging water back toward the building.

How a Kick-Out Flashing Investigation Is Performed
The appropriate scope depends on access, weather, cladding type and visible symptoms. An investigation may include:
- Visual review of roof, step flashing, diverter, gutter and wall transitions.
- Inspection of accessible interior finishes near the affected area.
- Moisture screening to compare suspect and reference locations.
- Controlled water testing when a specific leak path needs to be evaluated.
- Selective removal to inspect sheathing, insulation or framing directly.
- Coordination with a roofer, engineer, hygienist or other specialist when required.
Non-invasive equipment can help identify suspect areas but cannot guarantee that every concealed condition will be found. Destructive openings require owner authorization and a plan for temporary protection and permanent repair.
Proper Repair Sequence
- Identify the water path. Do not assume the visible stain proves the exact entry point.
- Define the opening. Remove only enough roofing or cladding to inspect and rebuild the transition correctly.
- Assess concealed materials. Determine whether sheathing, insulation or framing requires repair or specialist review.
- Restore the drainage plane. Integrate compatible membranes with the existing WRB or air/moisture barrier.
- Install properly sized flashing. Coordinate the step flashing, kick-out and gutter without reverse laps or open seams.
- Restore the exterior. Reinstall the appropriate cladding, basecoat, reinforcement and finish.
- Test and document. Photograph concealed work and perform agreed verification before closing the repair.
Can a Kick-Out Flashing Repair Support an Insurance Claim?
Coverage depends on the policy wording, cause of loss, timing and insurer’s investigation. An exterior contractor should document observed conditions without guaranteeing coverage or making legal conclusions.
Useful records can include dated photographs, water-testing observations, the location of openings, concealed conditions, repair recommendations and invoices. Structural, mould or disputed-causation questions may require qualified specialists.
Frequently Asked Questions
Is kick-out flashing the same as step flashing?
No. Step flashing runs along the sloped roof-to-wall intersection. Kick-out flashing is the diverter at the lower end that directs water away from the wall and toward the gutter.
Can caulking fix missing kick-out flashing?
Caulking alone is rarely a durable substitute. The repair must preserve shingle-style drainage and connect the roof and wall water-management layers.
Can flashing be installed without removing stucco?
Some localized repairs may be possible, but proper integration often requires opening part of the cladding or roofing. The existing construction should be reviewed before selecting a repair method.
Does visible staining mean the wall structure is damaged?
Not necessarily. Staining identifies a concern, not the full extent or cause. Moisture screening, controlled testing or selective removal may be required.
Who should repair the detail?
The work often requires coordination between roofing and exterior-envelope trades. Complex or structural conditions may also require a design professional.

Kick-Out Flashing and Water-Damage Repairs in Edmonton
Met Exteriors provides exterior inspections, localized investigation, cladding removal and building-envelope repairs for stucco, EIFS, siding, masonry and mixed-cladding properties in Edmonton and surrounding Alberta communities.
Learn more about our exterior inspection services, stucco restoration, EIFS repairs and cladding-failure documentation for insurance claims.
Technical references: Building America guidance for step and kick-out flashing and Building Science Corporation flashing details.
Contact Met Exteriors with the property address, photographs and a description of when the leakage or staining occurs.